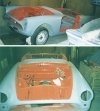
Chop! Chop! Now the really long hours and mess starts. Looking over the pictures as I prepared them gave me momentary chills even a year later. The images here are again just a few of many. Ask Me about any others, though I won't promise they might be any good. Fortunately I have another camera and more of a clue...
Some photos are from Warren.
| 1 9 9 8 | Winter | ||||||||||||||||||||||||||||||||||||||||||||||||||||||||||||||||||||||||
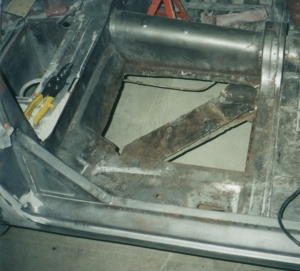
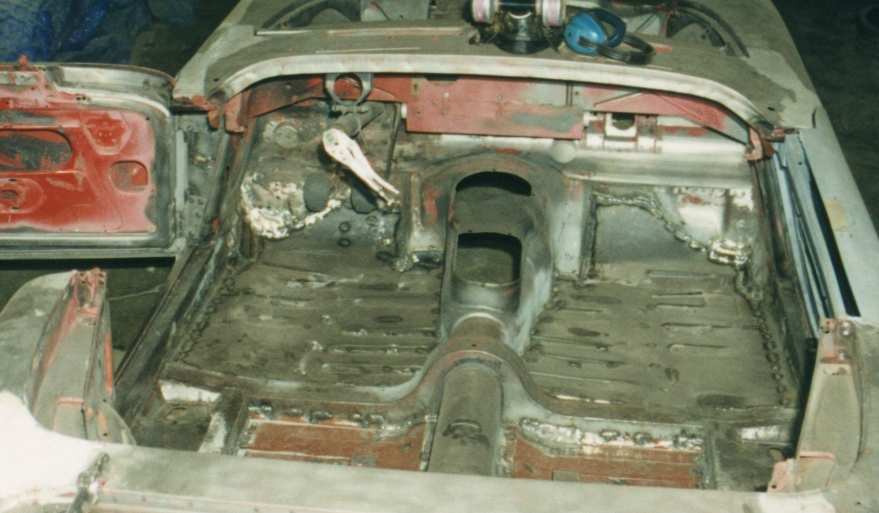
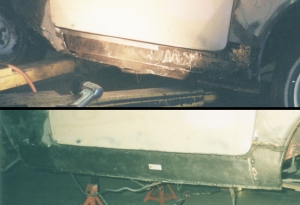
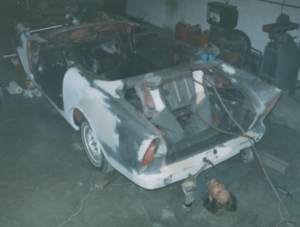
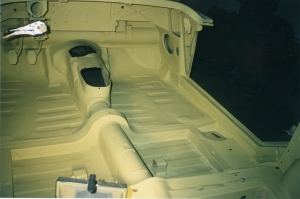
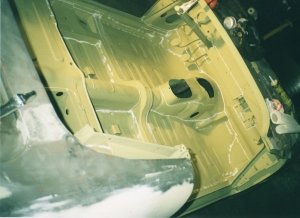
| Floors
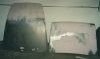
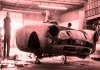
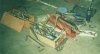
Cut, Clean (Brush, Grind), Fit, Weld, Grind, Surface. These three shots represent a lot of hours, noise and dust. I cut and cleaned the holes just ahead of Sunny, he made patches or prepared the new panels and welded them in, I ground the welds and he surfaced. |
| ||||||||||||||||||||||||||||||||||||||||||||||||||||||||||||||||||||||||
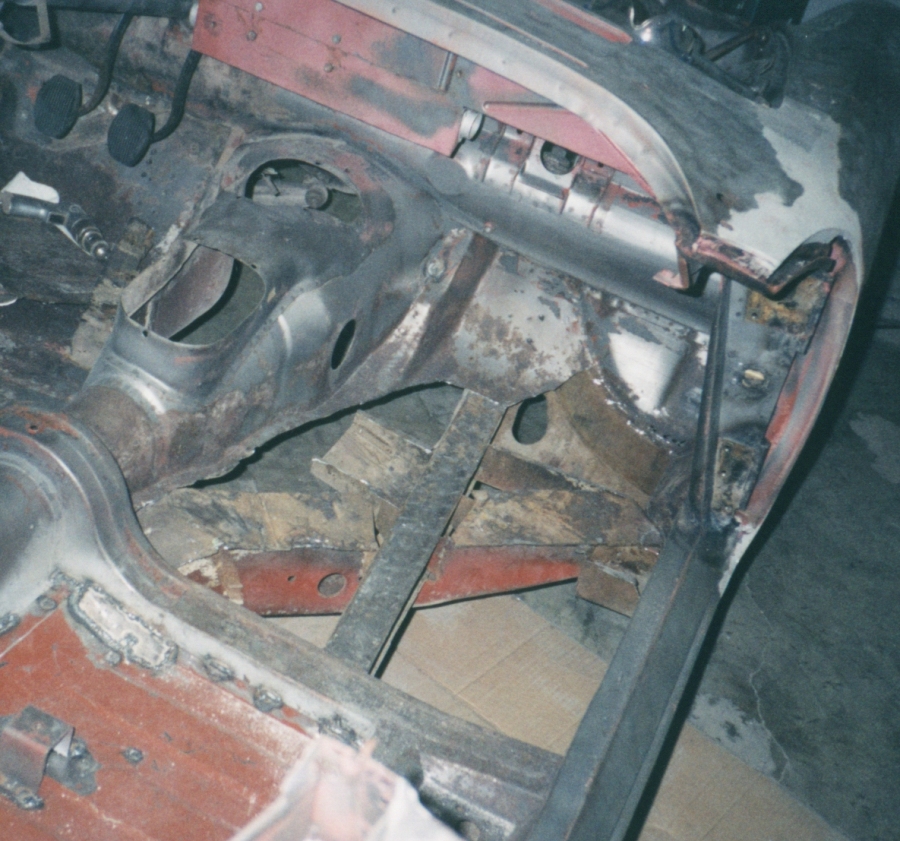
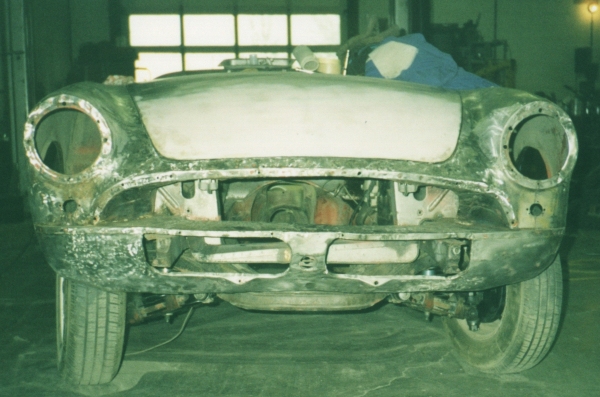
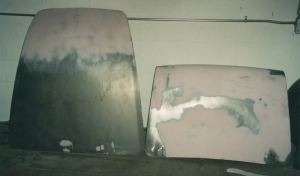
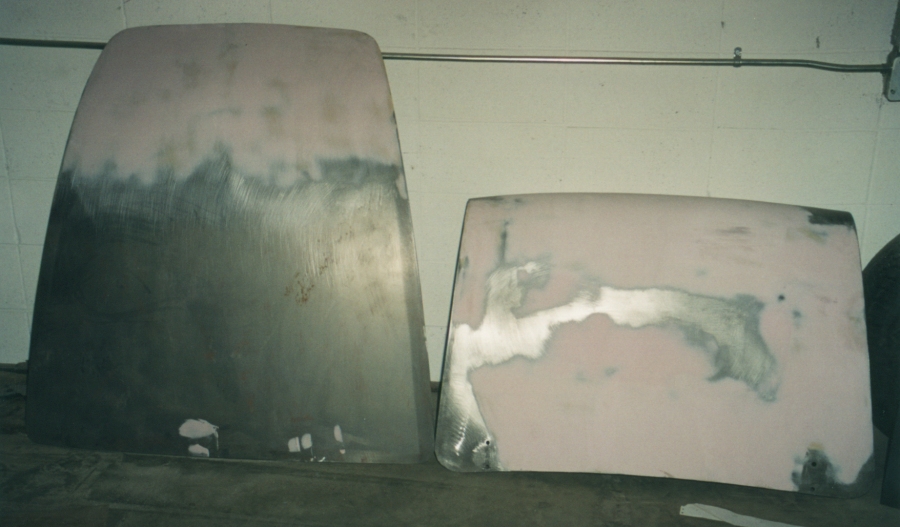
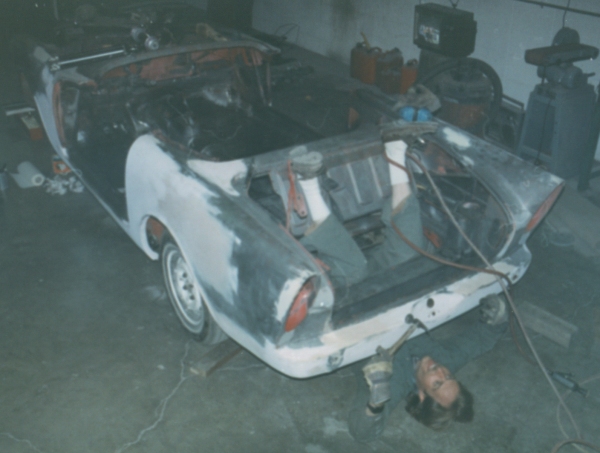
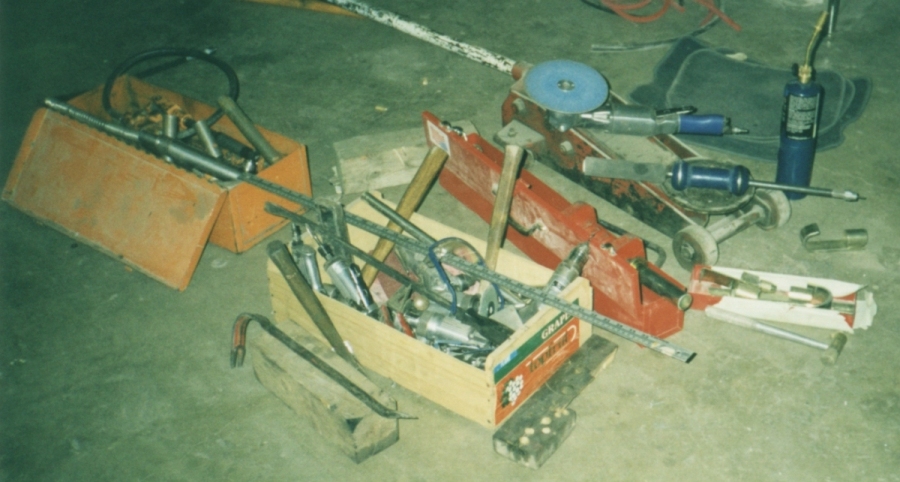
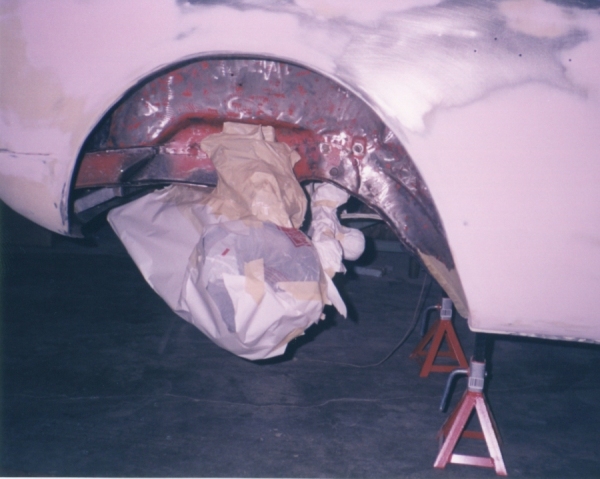
| The Rest
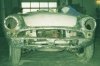
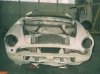
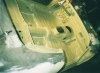
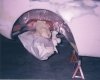
More of the same along the sides and front. The car had been rumpled in spots and the divots filled with body-filler or in a few more-recent places patched roughly with sheet-metal and then filled level. Sunny pulled dents with a uni-spotter (a gizmo that welds a pullable pin to the metal) and hammered to "close". Sunny used three different types of filler. It will take years for a regular Alpine to be worth any more effort. There were two small structural reinforcements: bracing for the lower part of the front valance and across the underside of the trunk flip-up. |
| ||||||||||||||||||||||||||||||||||||||||||||||||||||||||||||||||||||||||
| 1 9 9 8 | Spring | ||||||||||||||||||||||||||||||||||||||||||||||||||||||||||||||||||||||||
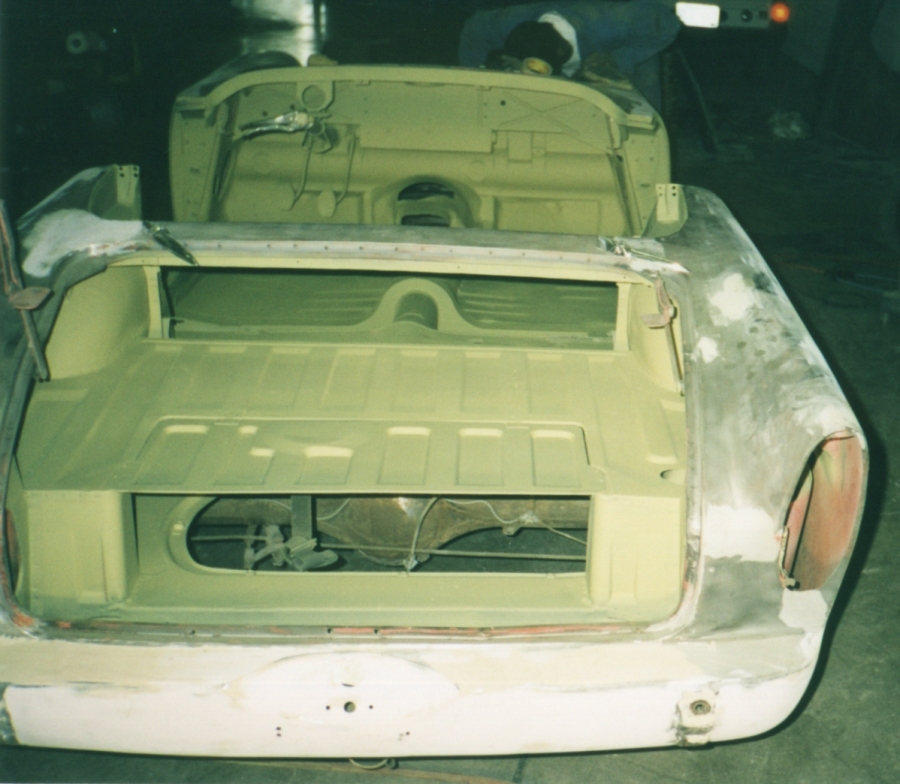
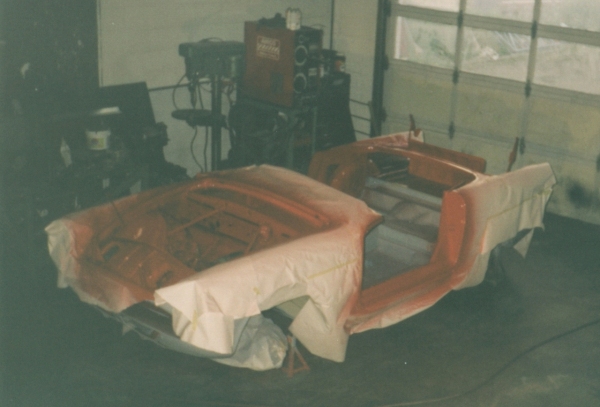
| The Tub is Etch-Primed and Sealed
It's starting to look more like a car again. Etch-primer bites into bare metal and resists rust. All bare top-side metal was prep-washed and double-coated. The tubs were done first so I could apply a flexible seam-sealer to every seam, fold, crack and hole. |
| ||||||||||||||||||||||||||||||||||||||||||||||||||||||||||||||||||||||||
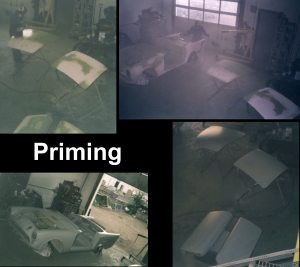
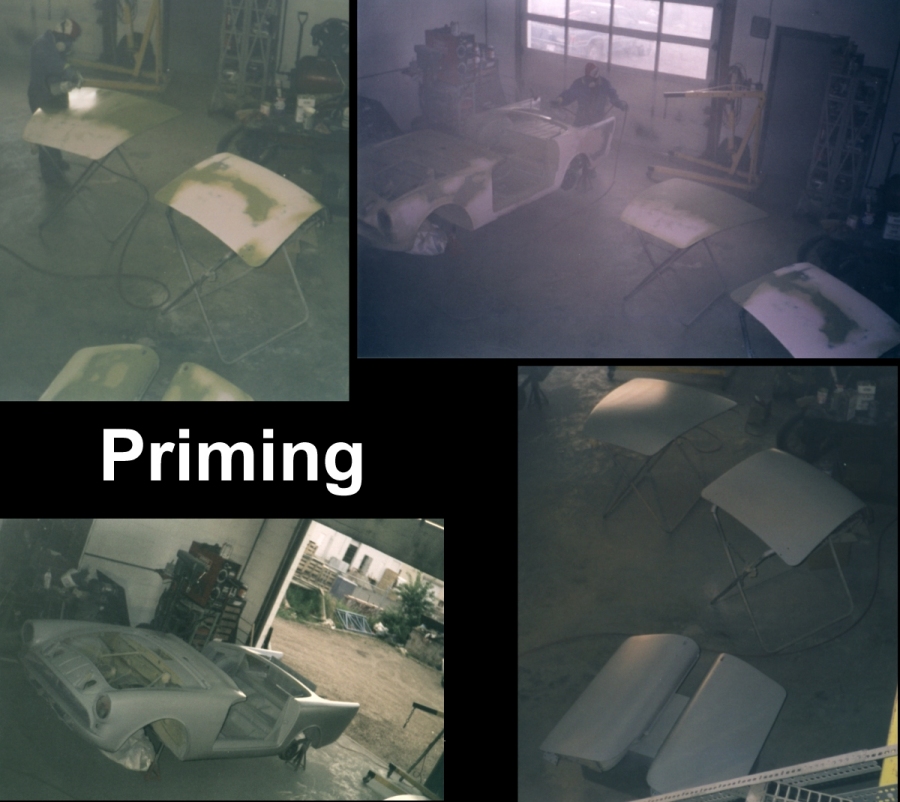
| Covering it All Up
Now it looks more like a car again. Sunny did all the priming. I hope this is the last time I see bare metal on this car for a long time. |
| ||||||||||||||||||||||||||||||||||||||||||||||||||||||||||||||||||||||||
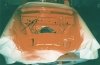
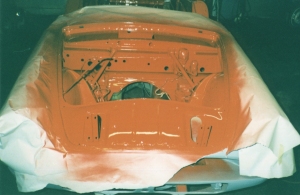
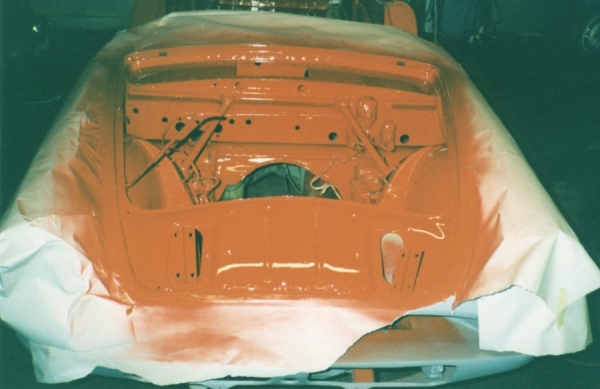
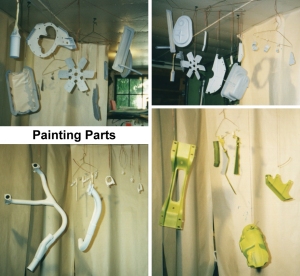
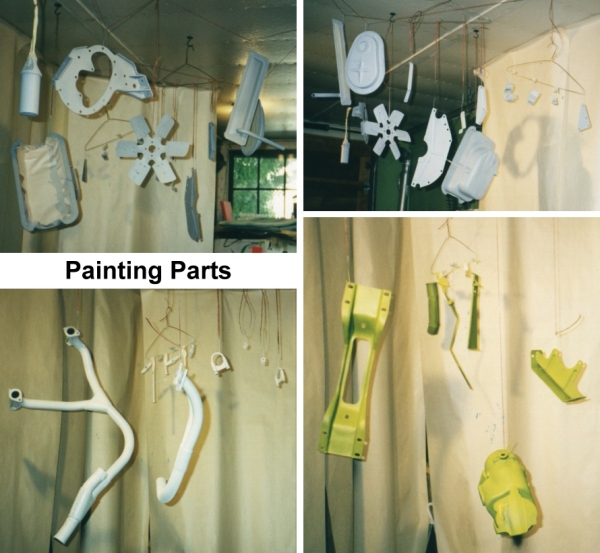
| Now some Real Colour!
What a relief to finally see something like 39: Carnival Red on the car again. Specs:
|
| ||||||||||||||||||||||||||||||||||||||||||||||||||||||||||||||||||||||||
| 1 9 9 8 | Summer | ||||||||||||||||||||||||||||||||||||||||||||||||||||||||||||||||||||||||
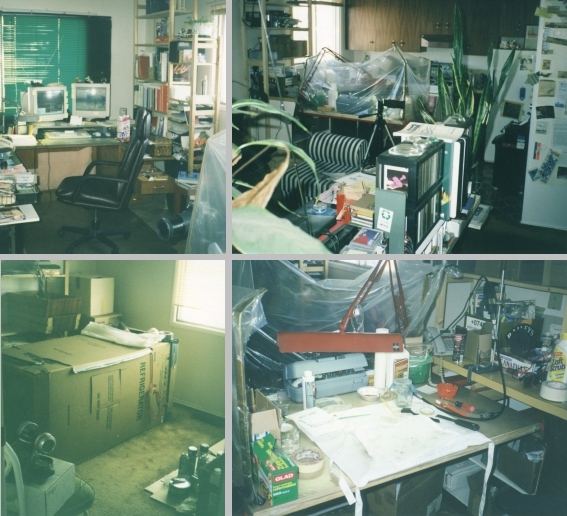
| Small Bits
With summer on and the car too far from complete to make a season, only seemingly-little things get done, most of them unphotographed. |
| ||||||||||||||||||||||||||||||||||||||||||||||||||||||||||||||||||||||||
| 1 9 9 9 | Winter | ||||||||||||||||||||||||||||||||||||||||||||||||||||||||||||||||||||||||
| Small Bits
Now I'm onto all the small bits that seem inconsequential except when considered en masse. There aren't any photos yet, but here's where most things are happening for the meantime. |
| ||||||||||||||||||||||||||||||||||||||||||||||||||||||||||||||||||||||||
| 3.4.3. Rebuild: Body JOY/CVP/YSEV/0.31 - November 7, 1999 |


